
Microinteractions might be small, but they make a big impact on how users experience your designs.
Whether it’s a button that responds to a click, a progress bar that animates smoothly, or a subtle hover effect on a card, these details help bring interfaces to life and make them feel more responsive and polished.
Figma’s Smart Animate feature gives designers an easy way to prototype these kinds of microinteractions, without writing a single line of code.
In this guide, we’ll take a deep dive into how to use Smart Animate effectively, when it works best, and how to level up your prototypes so they feel like real, dynamic products.
What Is Smart Animate?
Smart Animate is a feature within Figma’s prototyping tools that allows you to animate the transition between two frames based on the differences between matching layers.
Instead of simply switching screens, Figma automatically inserts changes in properties like position, size, opacity, rotation, color, and more.
In other words, if a layer exists in two frames but looks slightly different, Figma will animate the change rather than just jump from one state to another.
This makes Smart Animate perfect for designing microinteractions, small transitions, and feedback that create a more fluid user experience.
You can use it to show states like:
- Button hover or tap effects
- Expanding cards or modals
- Sliding panels
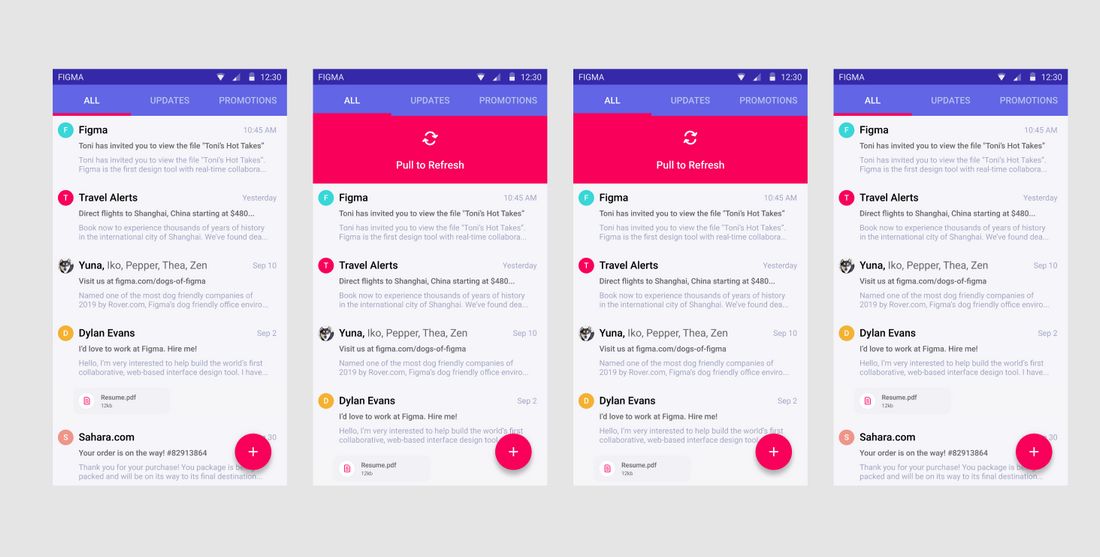
- Loading indicators
- Progress bars
- Image transitions
- Onboarding flows
And much more.
Why Use Smart Animate for Microinteractions?
Microinteractions help give users feedback and context as they interact with your product.
They provide visual cues that reinforce what’s happening, make the interface feel more intuitive, and enhance the overall experience.
Smart Animate is one of the easiest tools for prototyping these interactions because:
- It’s fast – you can prototype without complex timeline tools.
- It’s visual – you can see animations right in your Figma prototype.
- It’s flexible – works on multiple property types like size, position, and opacity.
- It’s great for collaboration – engineers can understand your design intent by previewing the animation.
Instead of spending hours building animations in After Effects or writing custom code, you can create polished interactions right inside your design file and share them with your team instantly.
Getting Started with Smart Animate
You don’t need any special plugins to use Smart Animate; it’s built into Figma’s prototyping tab.
Here’s a step-by-step to get started:
1. Create Two Frames
Smart Animate works between frames (or between components with variants). Start by creating two frames that represent different states of your design.
For example:
- Frame 1: A button in its default state.
- Frame 2: The same button in its pressed or loading state.
2. Match Layer Names
For Figma to animate between layers, the layers must have the same name across both frames.
If a layer is named “Button/Background” in Frame 1, it needs to be named exactly the same in Frame 2.
This tells Figma they are the “same” element and should animate any property differences.
If a layer exists in Frame 1 but not Frame 2, or vice versa, it will fade in and out instead of animating.
3. Apply Property Changes
Now make your visual changes between the two frames.
This can include:
- Moving or resizing elements
- Changing opacity
- Adjusting corner radius
- Rotating or scaling
- Changing fill color
- Changing stroke width or color
- Moving within Auto Layout
4. Add a Prototype Link
Go to the Prototype tab, and drag a link from Frame 1 to Frame 2.
In the interaction details panel, select:
- Animation: Smart Animate
- Easing: Choose from options like Ease In, Ease Out, Ease In and Out, or Linear.
- Duration: Set the speed of the animation in milliseconds.
5. Preview and Refine
Click Present in the top-right of Figma and interact with your prototype to see the Smart Animate transition in action.
If it doesn’t animate as expected, check your layer names and ensure that the properties you want to animate are different between the two frames.
You can follow this video tutorial for a more detailed, visual guide.
Best Practices for Designing Microinteractions
Smart Animate is a powerful tool, but it’s most effective when used thoughtfully.
Here are some tips to help you design polished microinteractions:
Start Small
Don’t animate everything just because you can. Microinteractions should be subtle and purposeful.
Focus on areas where the animation helps users understand the interaction or adds delight, like feedback on a tap or an element expanding to show more detail.
Use Appropriate Timing
Most microinteractions should be fast, around 100ms to 300ms is typical. If the animation takes too long, users will feel like the interface is lagging.
Reserve slower animations (400ms+) for larger transitions, such as onboarding flows or modal openings.
Pick the Right Easing
Easing defines how the animation feels as it progresses. Linear easing is often too mechanical.
Ease In and Out gives a more natural feel, objects accelerate at the start and decelerate at the end, mimicking physical motion.
Be Consistent
Use consistent animation patterns across your product. If one button uses a scaling tap effect, others should behave the same way.
Inconsistent animation can confuse users and make the experience feel disjointed.
Test with Real Users
Prototypes with Smart Animate can feel great to designers, but always test with real users. Watch how they interact with your animations.
Are the transitions clear? Do they help explain the interface, or do they feel like unnecessary flourishes? Feedback can help you refine the experience.
Common Microinteractions to Prototype with Smart Animate
If you’re looking for ideas, here are some common microinteractions that work beautifully with Smart Animate:
- Hover effects on buttons and links
- Click/tap feedback on buttons
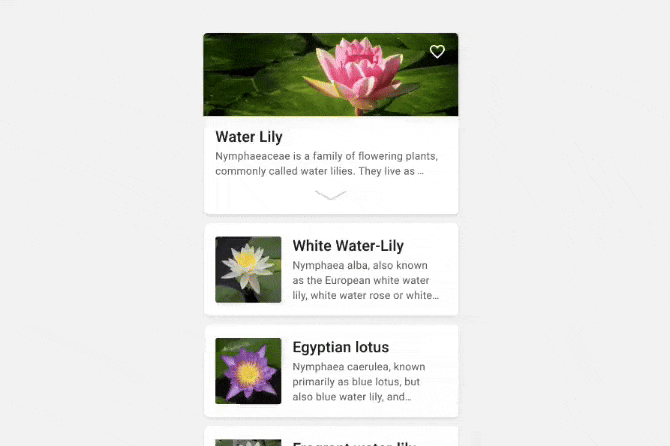
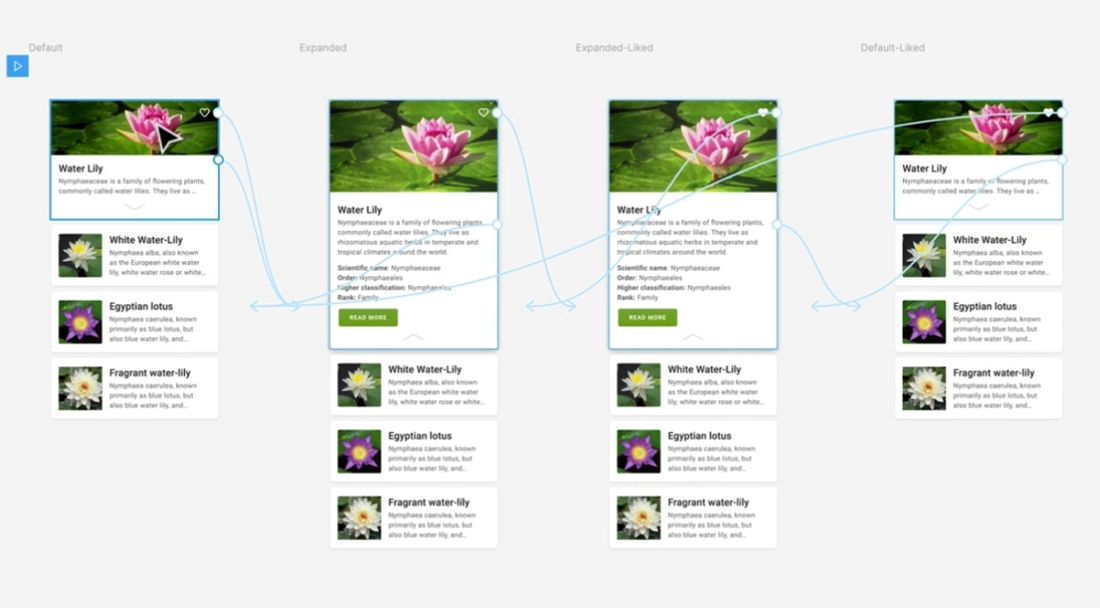
- Expand/collapse of accordions or cards
- Tab switching animations
- Toast messages or notifications fading in/out
- Progress indicators filling up
- Image hover zoom effects
- Modal openings and closings
- Onboarding sequences with animated transitions between steps
Conclusion
As with all great UX design, the key is subtlety and purpose. Use Smart Animate to clarify interactions, guide attention, and create a smoother flow, not just to add visual flair.
If you haven’t explored Smart Animate yet, start small: prototype a simple button hover or a card expand interaction.
Once you see how intuitive and flexible it is, you’ll find yourself reaching for it again and again as you craft more dynamic, engaging designs.